Welcome to Your Gini Account Center
This simple guide will take you step-by-step through the user-friendly Gini Account Center setup process. On each screen throughout the software, there is an info icon  in the top-right corner of the screen. So help is always just a click away.
Much Faster & Easier than Fiat Banking. In contrast to other cryptocurrencies, Gini is very serious about making software that is easy to use. As you're setting up your Gini account, please keep this in mind: This process typically takes between 30 seconds to a few minutes, depending on how much experience you have with computers in general and cryptocurrencies in particular. But regardless of your experience, this setup process is much faster and easier than opening a fiat bank account.
Now let's get started by summarizing the options available on the first setup screen.
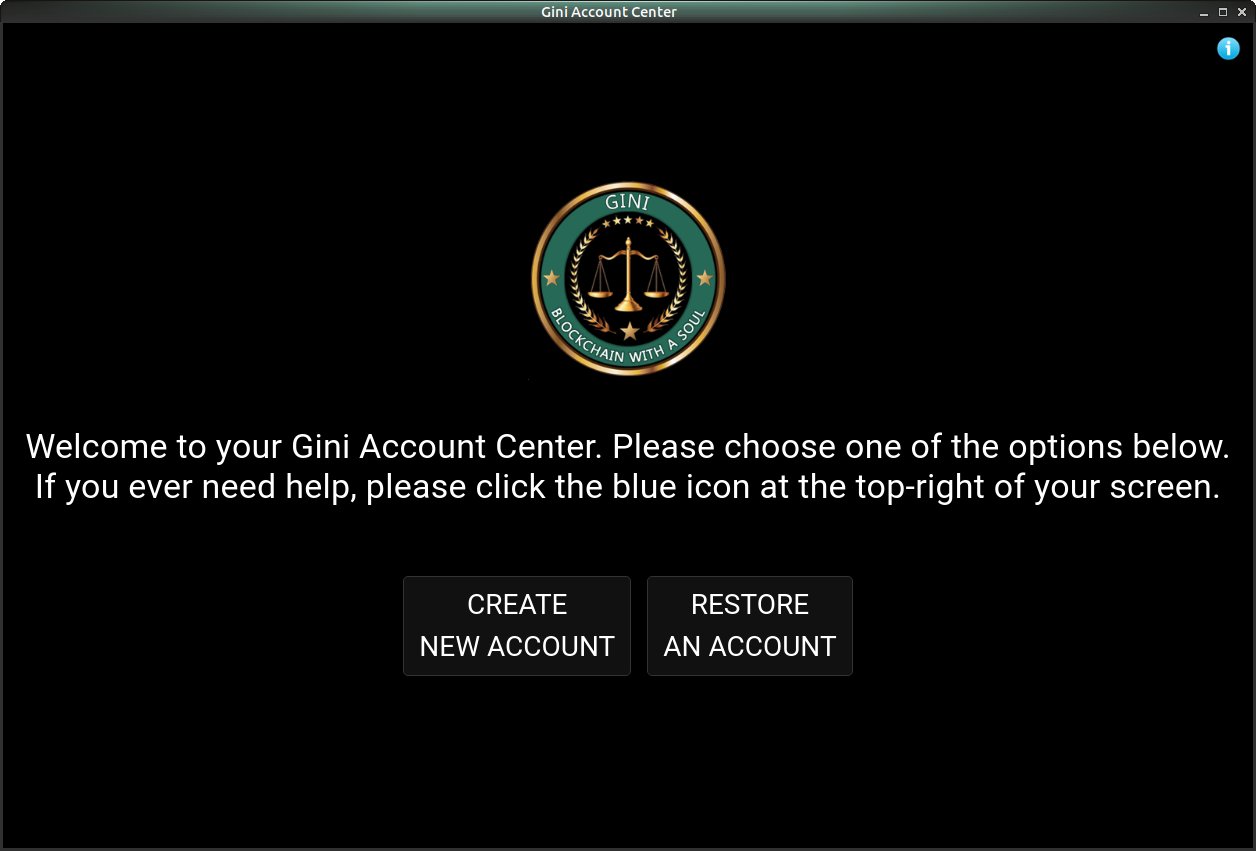
Create New Account. If you don't already have a Gini account, click the "CREATE NEW ACCOUNT" button.
Restore an Account. If you already have a Gini Account, click the "RESTORE AN ACCOUNT" button to restore an existing account.
Your Security Credentials
Overview. For maximum security, every new Gini account comes with three types of security credentials. If you already have an existing Gini account, then you already have all three of the following credentials. Here's a summary up-front so you see them together, which makes it easier to see how each credential is different. Then we will review them again with screenshots of the software to reinforce your understanding.
- 24-Word Recovery Code. You create your Recovery Code once during the initial account setup process, but you never need to use it unless you need to recover your account for some reason in the future.
- Recovery Password. You create your Recovery Password once during the initial account setup process, but you never need to use it unless you need to recover your account for some reason in the future.
- Login Password. You create your Login Password during the account setup process and you use it every time you login to your Gini Account Center. Many people use the same password for their Recovery Password and their Login Password, but sometimes they choose different passwords. It's entirely up to you. Unlike your Recovery Code and Recovery Password, you can change your Login Password in your Security Settings screen any time after you login to your Gini Account Center.
Quick Memory Trick. It's easier to remember the difference between the different credentials if you associate "Recovery" ("Recovery Code" and "Recovery Password") with long-term credentials that you only need if/when you ever need to recover your account. In contrast, the "Login Password" is needed every time you login into your account.
Now let's continue to the account setup process and explain how these credentials work and why they're important.
Recovery Code
After you click "CREATE NEW ACCOUNT" on the Welcome screen, below is the next screen you will see.

Click the "NEW CODE" button to generate your unique 24-word Recovery Code. This is a very important code because it enables you to automatically recover your Gini account directly from the decentralized Gini BlockGrid in the future. This might be necessary if you ever need to securely move your Gini account to another computer, recover from a hardware failure, or recover from some other disaster.
Below is what you will see after you click the "NEW CODE" button. (Of course your random code will be different.)

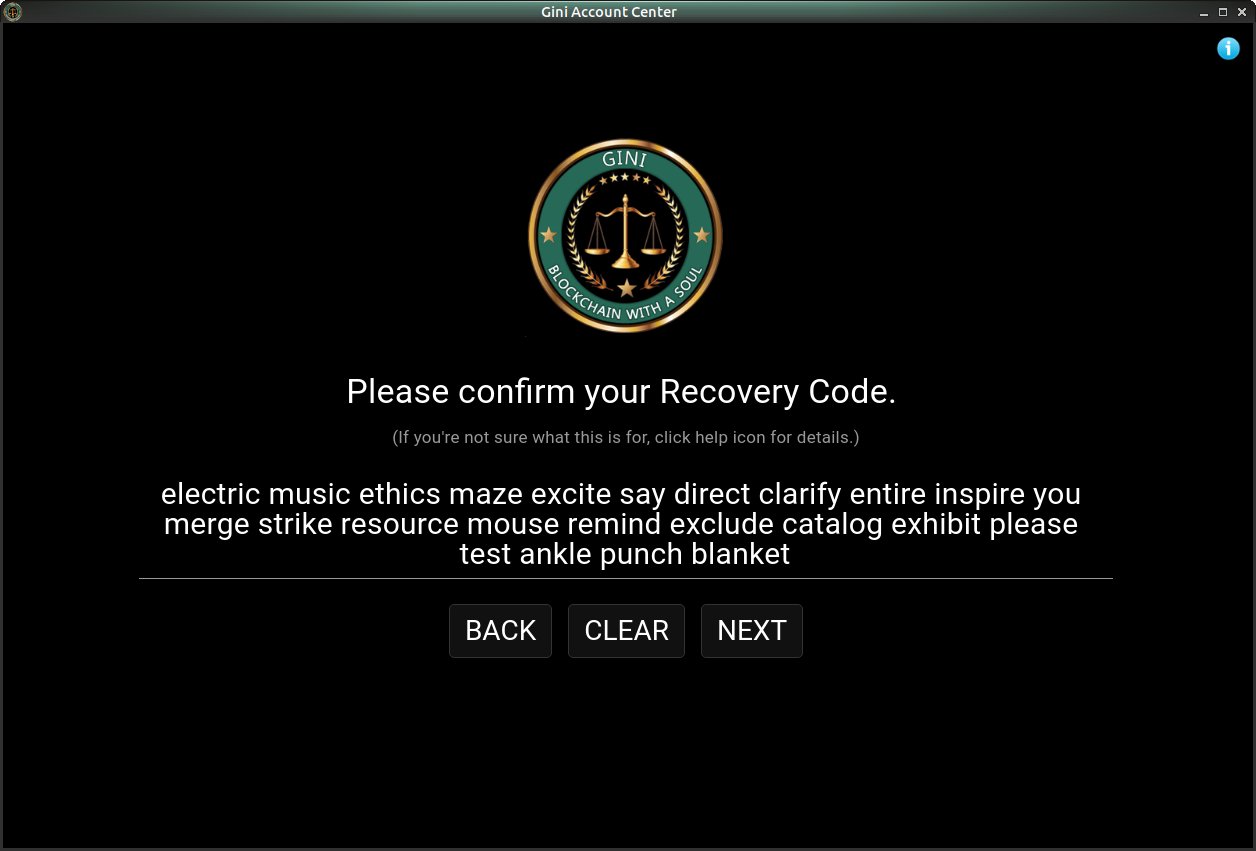
Confirm New Recovery Code. At this point, if you are creating a new Gini account, you should have a new 24-word Recovery Code from the previous screen. The next screen requires you to enter the Recovery Code to confirm that you have already saved the code in a safe place(s). You confirm this by entering your new Recovery Code on the screen illustrated below.
Restore Your Account from an Existing Recovery Code. If you have previously installed the Gini Account Center software, you should already have an existing 24-word Recovery Code. If you already have a Recovery Code and want to restore your Gini account from that Recovery Code, please enter it on the screen illustrated below.

Regardless of whether you're creating a new account or restoring an existing account, the Recovery Code confirmation process is the same, as illustrated below. Here's what it looks like after you paste the Recovery Code to confirm.
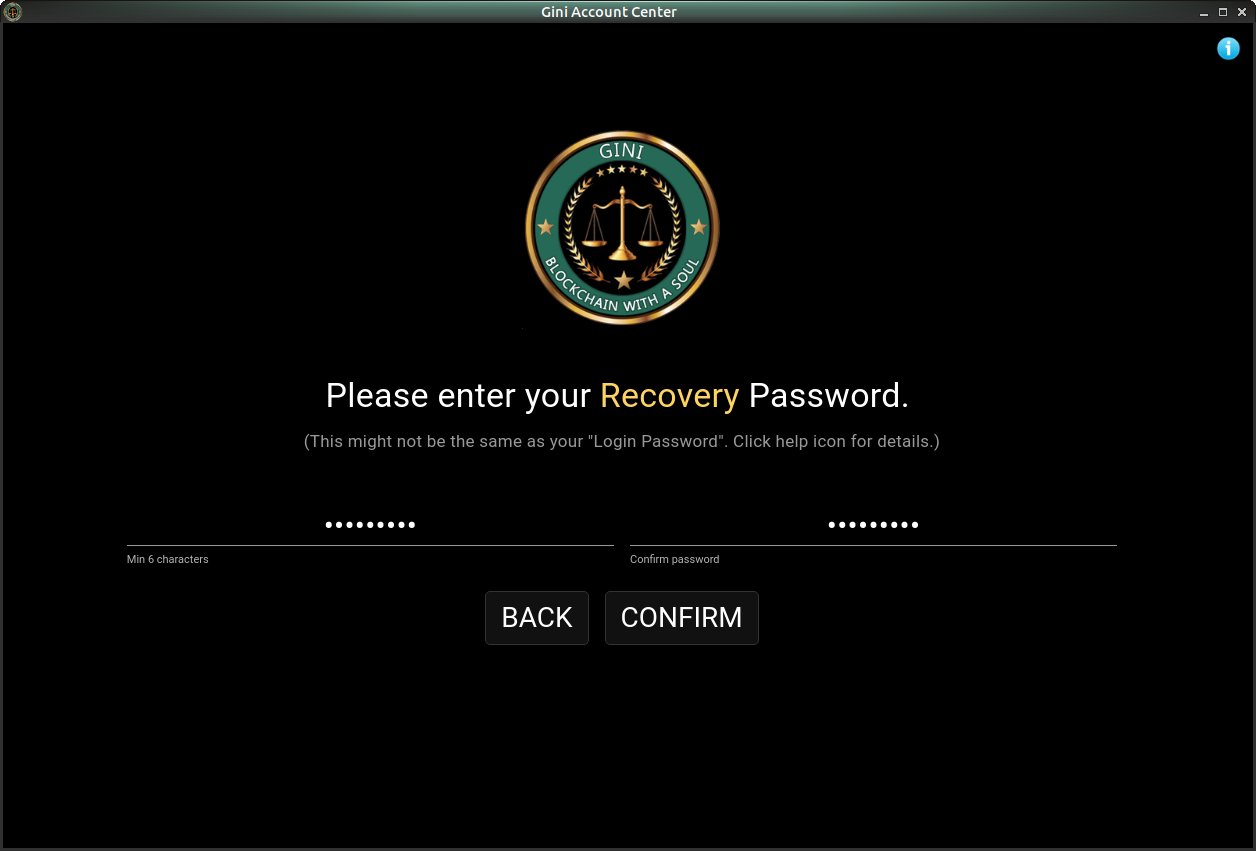
Recovery Password
You create your Recovery Password once during the initial account setup process, but you never need to use it unless you need to recover your account for some reason in the future. We highlight the word "Recovery" to distinguish your "Recovery Password" from your "Login Password" on the next screen.
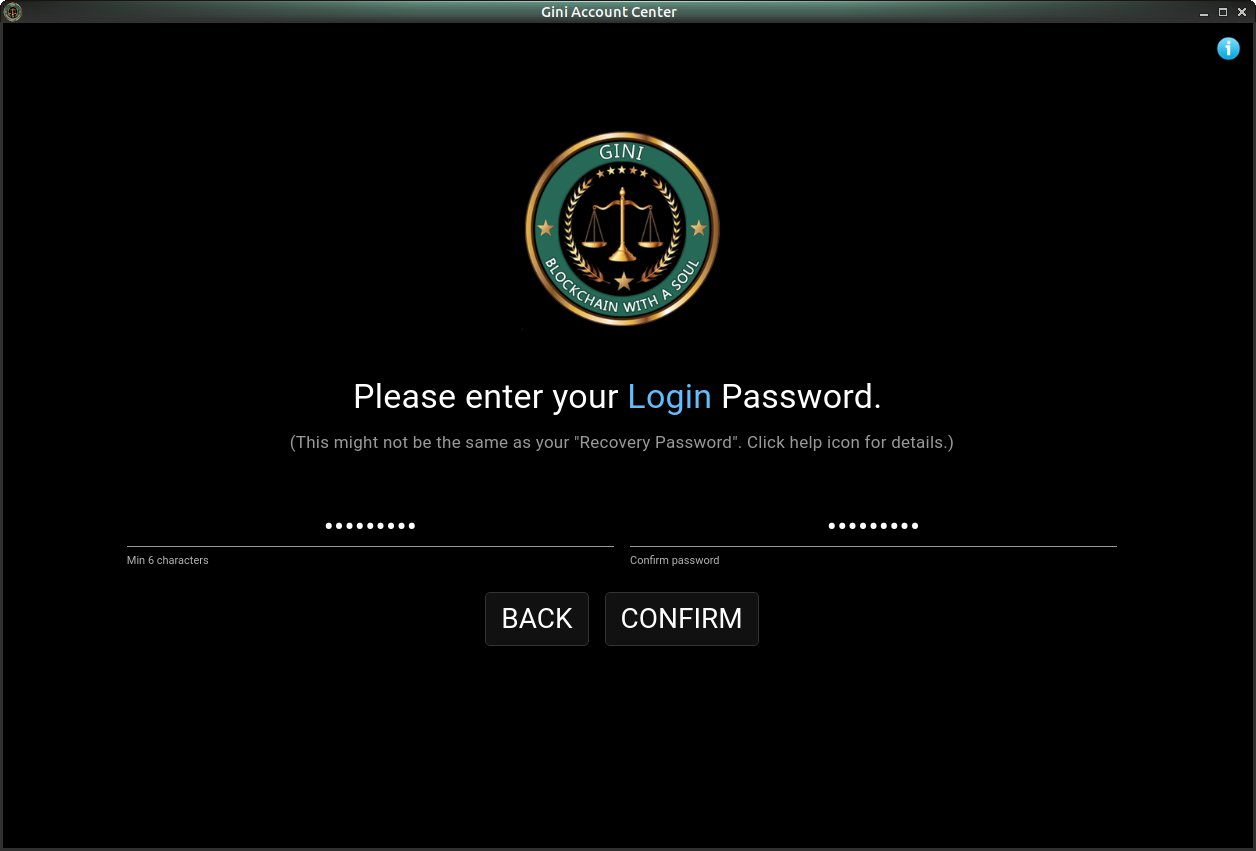
Login Password
You create your Login Password during the account setup process and you use it every time you login to your Gini Account Center. Many people use the same password for their Recovery Password and their Login Password, but sometimes they choose different passwords. It's entirely up to you. Unlike your Recovery Code and Recovery Password, you can change your Login Password in your Security Settings screen any time after you login to your Gini Account Center.
Success: Account Created (or Restored)!
After the simple steps above, your Gini Account Center will open. For people who are familiar with the steps, it takes less than 30 seconds to complete the entire setup process. This is much faster and easier than opening a fiat bank account! Some of the concepts might be new to people who have never used cryptocurrencies before, but as you can see, it really is a simple process.

If You Have Currency In Your Account.... If you have Gini currency in your account, you will notice that your account balance is 0.00 for a short period of time while the software is syncing with the decentralized Gini Network. Depending on how many transactions you have made with your account in the past, it may take a few seconds or several minutes for the account syncing process to complete. During this process, you will see your account balance updating incrementally in real time as all the historical transactions associated with your account are retreived from the decentralized Gini BlockGrid and merged into your local copy of the global ledger on your own computer.
If You Don't Have Currency In Your Account.... If you don't have any Gini currency in your account, then of course your account balance will be 0.00. If this is the case, please consider Shopping with Purpose at the Gini Store to support Gini's important mission. By Shopping with Purpose, you will automatically earn Gini currency along the way.
Keeping Your Credentials Safe
You should save your Recovery Code and all passwords in a secure password manager (e.g., LastPass or 1Password). We also recommend printing at least two copies of the Recovery Code and your account passwords and saving them together in two separate safe places. Ideally, these places should be two separate physical locations in case one copy gets destroyed in a fire, flood, etc.
Strong Security is Important
We have made the Gini Account Center software simpler than any other cryptocurrency software that we have ever seen. We are also working every day to make it even simpler. We understand these security topics might be a little challenging for some people. There is always a tradeoff between security and user-friendliness. Fortunately, the initial account setup process is the hardest part of your Gini journey. After this initial setup process, we promise that using Gini is even easier than using a fiat bank account.
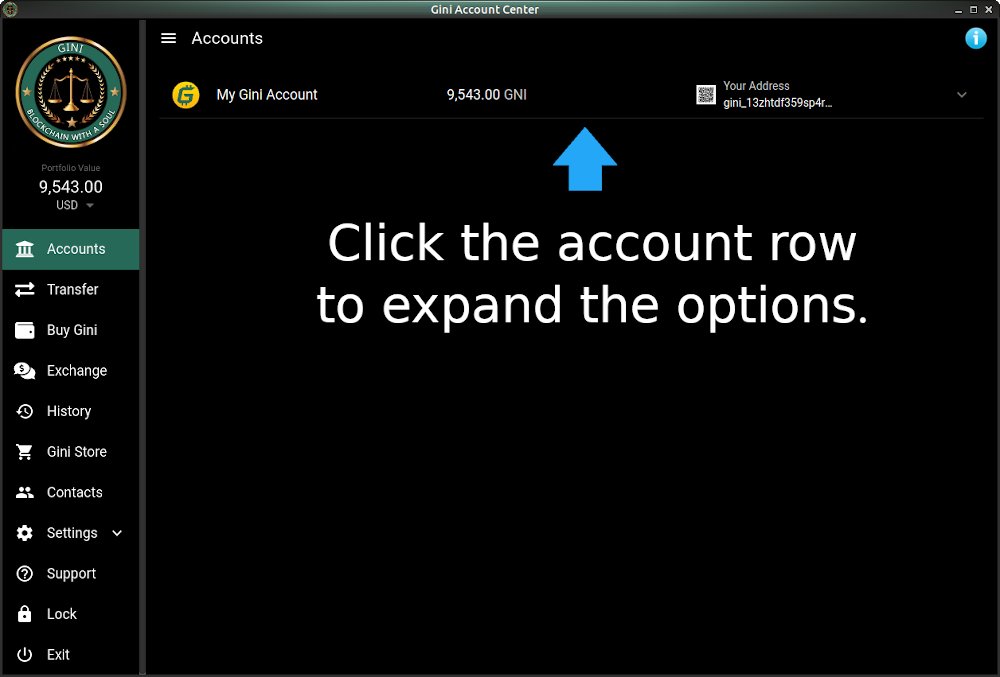
Accounts
The Accounts screen appears when you first login to your Gini Account Center. As illustrated in the screenshot, you can click on an account row to reveal more options associated with that account.
Click anywhere on your Gini payment address to copy it to your clipboard. Then you can send your Gini payment address to anybody who needs to send you money to the corresponding account. However, it's much easier and faster to send Gini currency simply by clicking on the Gini currency icon directly from a contact's profile in your Gini Contacts screen. (More on that later.)

On each account row, click on the square QR code  to view a larger QR encoded version of your payment address. Then you can copy/paste it into an email, save it to your computer, post it on your website, etc. whenever you want to allow others to quickly scan it and send you money.
A couple other tips for the Accounts screen:
- The Transaction Note is for your own reference. It is not sent to the recipient.
- To view your portfolio value in a different currency, click on the arrow and select your desired currency. (The portfolio value is under the Gini logo in the sidebar.)
Transfer
- All buttons are disabled until you select your desired “From” currency account. After selecting your account, then you can enter the amount you want to transfer or click one of the predefined account balance percentages (10% | 25% | 50% | 75% | 100%), then click the "Transfer" button when you’re ready.
- The transaction will then appear on the History screen for the corresponding currency accounts.
- After the currency transfer has been executed, check the History screen for the current status of the transaction. Gini transactions are confirmed instantly, but most other cryptocurrencies have longer confirmation times, which is beyond our control.
- We may add support for more currencies based on feedback and overall demand.
Exchange
More details will be added to this section soon.
Buy Gini
More details will be added to this section soon.
History
Each row in the History screen displays the details of each transaction. The 'Status' column icons are explained below.
![]() = Transaction completed and fully confirmed.
= Transaction completed and fully confirmed.
![]() = Transaction still processing on the network. Gini transactions are instantaneous, but other cryptocurrencies have a longer confirmation process, which is beyond our control.
= Transaction still processing on the network. Gini transactions are instantaneous, but other cryptocurrencies have a longer confirmation process, which is beyond our control.
![]() = Transaction failed. Click on the row to view the transaction details to see what caused the failure.
= Transaction failed. Click on the row to view the transaction details to see what caused the failure.
How to See Truncated Table Values? On smaller screens, some of the history table values might be truncated. This is only a cosmetic issue. To make it easier to see all the values, you can click on any value in the table and it will be automatically copied to the clipboard. Then you can paste it into any document to see the full value.
Zoom Screen In/Out. You can right-click and select the "zoom out" menu option, which will decrease the size of all the screen elements so you can see more of the History table values.
Contacts
Add New Secure Connection. From the Contacts menu, click "Add New Connection". A popup window will appear. To securely connect, only one party needs to give the other party a new Gini Flash Code. So, if you . . .
- Already Have a Gini Flash Code? If your counterparty has already given you a Gini Flash Code, enter it in the box within the popup window and click "Verify Flash Code". If the Flash Code is valid and has not expired, their Gini payment address (and optional contact details) will be automatically added to your private Gini Contacts list.
- Don't Have a Gini Flash Code? If your counterparty hasn't given you a Flash Code, then click the "Create New Flash Code" button from the popup window. Using any of the popular encrypted chat programs (e.g., Signal, Telegram, WhatsApp), text that code to your counterparty or speak it to them over the phone. (Unecrypted phone calls are not very secure, but email is absolutely not secure.) Make sure they enter it into their GiniConnect box before it expires. If it expires, just click the "Create New Flash Code" button again and give them a new code.
Edit Contacts. Click on each contact field to edit it. For example, click on an email address and a popup box will appear so you can edit it.
Toggle Chat Mode On/Off. Click on the or icons next to the contact's name at the top of the screen to toggle between Chat Mode and Contact Details Mode.
Add Contacts to Your Favorites List. In the contact details area, click the star next to the contact's name to add or remove the contact from your Favorites list.
Toggle Favorites On/Off. From the toolbar menu, select "Favorites" to toggle your favorites list on/off. When the favorites are on, you will see the green "ON" indicator and your contact list will only contain contacts that you've added to your Favorites list.
Send Gini Payments to Your Contacts. Click on one of your contacts to view their profile. Then click on the Gini currency icon or the "Make a Gini payment to..." link to load the contact's name and payment address into the payment screen. There you can set the amount and other details before sending the payment. Alternatively, you can click on the Gini currency icon from within the chat window and send payments instantly while you chat.
Gini Store
- Shopping with Purpose at the nonprofit Gini Store is one of the ways you can support the Gini Foundation’s unique and important mission: Protect human rights, build an equitable and sustainable monetary system, and maximize the broad wealth-generating potential of real-world commerce.
- Every time you shop at the Gini Store you earn Gini Rewards in the form of Gini cryptocurrency. So, it really pays to shop with Gini!
- We are continuously working to expand the Gini Store’s product selection and deliver the best possible prices to you. The more customers we have, the better prices we can offer. So, please send your friends and family to the store, too!
- Clicking any of the links in this Gini Store screen will open a Web browser and take you to the Gini Store website.
Settings
The screens in this section are all under the "Settings" tab.
Settings: Profile
Guarantee You're Connected to the Correct Person. GiniConnect enables you to guarantee that you're exchanging your Gini payment address with the correct person. This is a dramatic security improvement over other forms of payment like PayPal and others that depend on email and other insecure systems.
Safer & More Convenient. Your GiniConnect contact profile is an optional feature that enables you to more easily share the contact details that you provide on this screen with other authorized Gini stakeholders. This is more convenient for you and your counterparties because your contact details above are securely and automatically sent to your counterparties' Gini Contacts list. This eliminates typos and many security risks.
Secure & Private. Your GiniConnect details are shared only through the secure GiniConnect Protocol directly with your payment counterparties. (Your GiniConnect contact details are never stored on any Gini Foundation or third-party servers.) This enables you to communicate securely with other stakeholders from your private Contacts screen. When you share your Gini payment address with your counterparties using GiniConnect, the contact details you provide in your private profile above will also be included with your GiniConnect payment address.
Completely Optional. If you prefer to stay anonymous and not enter any details above, GiniConnect will still enable you to securely send your anonymous Gini payment address to other Gini stakeholders. The process simply will not include any other information. Then, your counterparty will see "New Contact" in their Gini contact list, which they can modify as they wish, e.g., "My Secret Friend". (Of course, their modifications only affect the name they see in their own GUI; it has no affect on your own private contact profile here.)
Changing Your GiniConnect Payment Account. Most people never need to change their default GiniConnect account. However, some people may prefer to create separate Gini accounts for separate activities, e.g., one account for their business transactions and another account for their personal transactions. By default, your GiniConnect payment account/address is the same as your primary Gini account. (Your primary account is configured on your Account Settings screen.) However, you can change your GiniConnect payment account to any Gini account that you own from your list of accounts above. If you change your GiniConnect account, your counterparties will still be able to send you Gini currency to your previously selected account.
Updating Your Counterparties When You Change Your GiniConnect Account. If you change your GiniConnect payment account above and you want your counterparties that were previously given your previous account to send all future payments to your new GiniConnect payment account, you must establish a new secure connection with each counterparty by selecting "Update Connection" from your Contacts screen menu. (We don't provide any automated update broadcast mechanism because that would create numerous security risks for you.)
This has been a summary of GiniConnect. You can learn much more about the reasons why GiniConnect is very important for your security and why it's superior to other payment connection protocols at the Gini website.
Settings: Security
Screen Security Lock Interval: This determines how long until your Gini software requires you to login again.
Settings: Account
Add Accounts. Click the "Add Account" and "Import Account" buttons to add/import accounts. (Deleting accounts will be available soon.)
Edit Accounts. Click the edit icon ![]() on each row to change your currency account names. (We are working to add support for more currencies as soon as possible). Each account that you add will be displayed on this Account Settings screen and on the main “Accounts” screen as a separate currency account row.
on each row to change your currency account names. (We are working to add support for more currencies as soon as possible). Each account that you add will be displayed on this Account Settings screen and on the main “Accounts” screen as a separate currency account row.
Fiat Currency Accounts Due to the way the dysfunctional (and generally corrupt) fiat banking system works, you can add fiat currency accounts to your Gini Account Center only if you are a member of the nonprofit Gini Credit Union. This is the only way we can legally enable Gini stakeholders to seamlessly manage their fiat and cryptocurrency accounts within the same software interface.
All Currencies Are Treated the Same. In the Gini Account Center, cryptocurrencies and fiat currencies are all simply “currencies”. From a functional perspective, it does not matter what kind of currency they are because all currencies are supposed to serve the same purpose: store of value, medium of exchange, and unit of account. Of course, the Gini currency is the best currency for many reasons. You can learn why this is true in the Gini book and on the Gini website at GiniFoundation.org.
Settings: Advanced
Backup Your Data! Although your transaction data can be recovered using the Recovery Code that you created when you installed your Gini software, it's still important to perform a full backup of all your Gini data files as frequently as possible. This is because your Recovery Code only recovers your most critical financial transaction history from the decentralized public Gini BlockGrid ledger. To protect your privacy, the public ledger does not include your private Gini contacts, private memos, chat history, and other custom GUI configuration options.
Full Node. If you select "Full Node", your Gini software will download the full Gini BlockGrid database and it can anonymously monitor all the traffic on the decentralized Gini Network without depending on any other nodes on the network. This is the recommended option.
Light Node. If you select "Light Node", your Gini software cannot download the full Gini BlockGrid database; so, it can only monitor your own transactions. However, a light node can still send/receive transactions normally, but your software will anonymously communicate with Guardian Nodes throughout the Gini Network to ensure that your transactions are fully validated. Selecting "Light Node" is only recommended if your computer has a low amount of available hard drive space.
Dynamic Guardian Node. Guardian Nodes are the most important nodes on the Gini Network. They anonymously work with other Guardian Nodes to validate transactions for everybody on the network, which ensures the integrity and stability of the Gini Network and ecosystem. If you opt-in for your computer to be a Guardian Node, you will earn Gini currency every time a new transaction is processed on the Gini Network, even while you sleep! Any modern computer can serve as a Guardian Node. Learn more about Dynamic Guardian Nodes.
Advanced Tools & Tips
The concepts in this section explore more advanced topics, which are not necessary for the vast majority of stakeholders.
Running a Gini Full Node
Most users run a Gini node by installing the Gini Account Center software from the Gini downloads page. The Gini Account Center software includes the latest Gini full node and other important features. The user-friendly installation process guides users through the Gini account setup process without needing any technical knowledge at all. In fact:
Non-technical users don't need to read this page at all.
However, for technically experienced users who want to run a Gini full node from the command line interface (CLI), please follow the steps below.
Installation on All Platforms
The easiest way to install the Gini node on all OS platforms is to use the Docker image. You can download the latest Gini Docker image from the Gini downloads page. From within the downloaded Gini node directory, launch the Gini Docker container with docker-compose up. That's it! The node should be running now. (See more about node bootstrapping later below.)
After the node is running, you can jump over to the Gini node API page to learn how to securely access the node from the CLI and/or your custom client apps.
**IMPORTANT:** The Gini node requires Docker version 19.03.6 or above and docker-compose version 1.25.3 or above. If your system does not meet these minimum requirements, the Gini node will not run properly.Mac & Linux: Non-Docker Installation
Some users might want to run the Gini node executable file directly on their host machines without Docker. This option is currently only available for Mac and Linux.
To simplify our software development, deployment and support, and to create the most consistent user experience possible across all OS platforms, we currently release and support the Gini node only as a Docker image. However, you can easily extract the Gini node's binary executable file from a running Docker container with the following steps.
- Follow the steps above to download and start the Gini Docker container.
- Copy the Gini node executable file from the running Docker container by executing:
sudo docker cp <containerName>:/usr/local/bin gini-node<containerName> is node_gini0_1. (You can see the container names with docker ps.)- Make sure you're in the same directory as the executable file. On Linux and Mac this file will be named
gini-node. - Execute the command:
./gini-node - Your Gini node should now be running. Now you can initialize the node, create your account keys, and unlock the node according to the Gini Node API specifications.
Installation on Windows
To ensure maximum compatibility across all Windows versions, the Gini node is currently available on Windows only as a standard Docker image. Visit the Gini downloads page to download the latest version.
Why Only Docker? The Gini node can compile and run on Windows outside of Docker, but we haven't had enough time to test it thoroughly yet. We understand there are still users who don't know how Docker works. We will release a non-Docker, Windows-specific version as soon as possible.
NOTE: As of early 2020, only Windows Professional Edition is able to run Docker. That means users running Windows Home Edition cannot easily install the Gini Account Center software or Gini node. (There are ways to do it, but they require significant technical skill. Anybody with those skills is probably using Linux or Mac. ;- ) Unfortunately, this is beyond our control.
Using an Existing Secret Account Key
If you already have an existing Gini account and corresponding secret account key from another Gini installation, create a secret environment variable and add it to your computer's private environment with this command:
export GINI_SECRET_KEY=<enter-your-secret-key-here>
Then confirm the secret key value has been saved: echo $GINI_SECRET_KEY. (The output should be the value of your key.)
Now you can launch your Gini node with the following command, which includes a reference to your secret key:
./gini-node --secret-key-env-var=GINI_SECRET_KEY
If you entered the command correctly, you should now be able to initialize, unlock and access the Gini node using the Gini Node API. After the node has been initialized and unlocked, it will load all your historical transactions automatically by retreiving them from anonymous bootstrap peers across the Gini Network. (All cryptocurrencies work like this, including Bitcoin, Ethereum, etc.)
Command-Line Options
In most cases, you don't need to provide any additional options after the ./gini-node command because the node is already able to find bootstrapping peers on the network and the default parameters are sufficient for nearly all situations. However, some people like to specify their own options. For example, you can specify as many of your own bootstrapping peers as you want by incuding the --bootstrap option as many times as necessary after the ./gini-node command:
./gini-node --bootstrap=<ip-address-of-peer-1> --bootstrap=<ip-address-of-peer-2> --bootstrap=<ip-address-of-peer-3> ... --bootstrap=<ip-address-of-peer-n>
It can also be useful to include the -v flag, which turns verbose mode on. That enables you to see real-time logging data and the default settings.
You can view a list of all available command line options by including the help flag, e.g., ./gini-node -h.
Bootstrapping
The Gini node will not begin bootstrapping or communicating with other nodes on the Gini Network until after you have successfully initialized and unlocked the node for the first time according to the API specifications referenced above.
Backing Up Your Private Gini Data
Depending on the installation method you choose, your Gini software may generate data that is private, which means the data is not distributed across the Gini Network. This includes data like private transaction memos, contacts, chat messages, key files and other data that are not included in the core transactions that are sent across the network. Collectively, we refer to these data as your "Private Data".
If the Gini node is not launched from within the user-friendly Gini Account Center software, then the Gini node will not automatically backup your Private Data. To backup your Private Data and/or migrate the data from one device to another, you need to manually copy/move the Gini node directory containing those files to the new device.
Warning: Manually manipulating your Gini directory files is dangerous because it could cause you to lose all your data and Gini currency. Manual Gini data file manipulation should not be performed unless you really know what you're doing. If you are not technically experienced enough to safely do this yourself, we strongly encourage you to use the much simpler Gini Account Center software from the Gini downloads page.
For the reasons above, the Gini team cannot provide support for any problems that appear to be caused by users manually manipulating the Gini directory contents.
Support & Guidance
Support: Gini Account Center
The Gini team is working hard every day to create the most user-friendly software and tools for the Gini ecosystem. However, please keep in mind the Gini Foundation is a nonprofit organization. Thus, we need to manage technical support staff and resources as efficiently as possible.
Over time, we will make more support options available. In the meantime, for help and support, please visit the Gini Knowledge Base first. Then if you can't find an answer to your question, feel free to contact us and we will help you as soon as possible.
Support: Gini Node
Technical Users Only: If you need support for the Gini node separately from the Gini Account Center, please provide the following details about your system's environment. Without these details, the Gini team cannot effectively diagnose and resolve your issues. Thank you for your understanding and attention to these details.
- Operating system name and version
- Docker version
- Docker-compose version
- Current Gini node behavior
- Expected Gini node behavior
- Description of steps to reproduce the problem
- Can you fix the problem yourself? (This is for technical developers who can contribute to the Gini project by submitting their own Git pull requests.)
Frequently Asked Questions
Why Do I Need Two Passwords and a Recovery Code? Your "Recovery Password" is cryptographically combined with your "Recovery Code" to automatically generate your unique, random private and public Gini account keys. Neither of these credentials can be changed after they are created because changing them would mathematically change your unique keys, which would prevent you from accessing your account. That's why your Recovery Code and Recovery Password are created only once and stored in a safe place unless you ever need them again in the future to recover your account. In contrast, your "Login Password" is used every time you login; and you might want to change it occasionally as a good security practice.
Why Does the Recovery Code Have So Many Words? The short answer: It's a proven, safe, standardized and human-readable way of representing much more complex mathematical and cryptographic principles. The industry standard that defines the way these Recovery Codes are generated is called "BIP39". This standard was originally created for Bitcoin, but it has become an industry-standard way of restoring lost cryptocurrency wallets. Virtually all cryptocurrencies use this standard today because it's far safer and easier to copy/paste a human-readable sequence of words than to understand the complex math and cryptography involved in reconstructing an entire wallet (i.e., an account and all its transactions) using the underlying math and cryptography.
For a much longer answer and to see why the 24-word Recovery Code is far easier than the "fortress of math" under the hood, this article provides a good summary of some of the underlying technical principles involved in creating BIP39-compliant Recovery Codes (aka, "mnemonic seed phrases").
Did You Like This Resource?
Gini is doing important work that no other organization is willing or able to do. Please support us by joining the Gini Newsletter below to be alerted about important Gini news and events and follow Gini on Twitter.